> For the complete documentation index, see [llms.txt](https://docs.imdcinsights.com/llms.txt). Markdown versions of documentation pages are available by appending `.md` to page URLs; this page is available as [Markdown](https://docs.imdcinsights.com/ying-yong-zhong-xin/yun-shu-ju-ku/rethinkdb-kuai-su-ru-men.md).
# RethinkDB快速入门
### 准备[](https://support.websoft9.com/docs/rethinkdb#%E5%87%86%E5%A4%87)
部署 创达睿通 提供的 RethinkDB 之后,需完成如下的准备工作:
1. 在云控制台获取您的 **服务器公网IP地址**
2. 在云控制台安全组中,确保 **Inbound(入)规则** 下的 **TCP:28015,9090** 端口已经开启
3. 在服务器中查看 RethinkDB 的 **默认账号和密码**
4. 若想用域名访问 RethinkDB,务必先完成 **域名五步设置** 过程
### RethinkDB 初始化安装向导[](https://support.websoft9.com/docs/rethinkdb#rethinkdb-%E5%88%9D%E5%A7%8B%E5%8C%96%E5%AE%89%E8%A3%85%E5%90%91%E5%AF%BC)
#### 详细步骤[](https://support.websoft9.com/docs/rethinkdb#%E8%AF%A6%E7%BB%86%E6%AD%A5%E9%AA%A4)
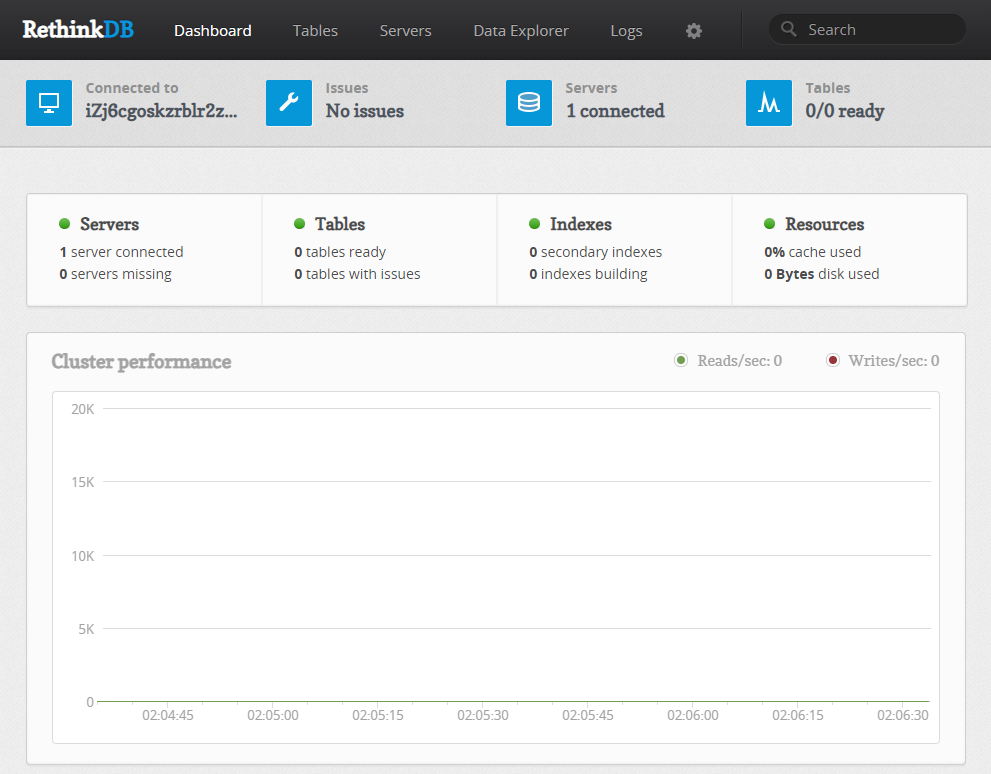
1. 使用本地电脑的浏览器访问网址:*`http://域名:9090`* 或 *`http://服务器公网IP:9090`*,准备登陆 RethinkDB 控制台
2. 输入用户名和密码,成功登录到 RethinkDB 后台
#### 出现问题?[](https://support.websoft9.com/docs/rethinkdb#%E5%87%BA%E7%8E%B0%E9%97%AE%E9%A2%98)
若碰到问题,请第一时刻联系 **技术支持**。也可以先参考下面列出的问题定位或 **FAQ** 尝试快速解决问题。
### RethinkDB 使用入门[](https://support.websoft9.com/docs/rethinkdb#rethinkdb-%E4%BD%BF%E7%94%A8%E5%85%A5%E9%97%A8)
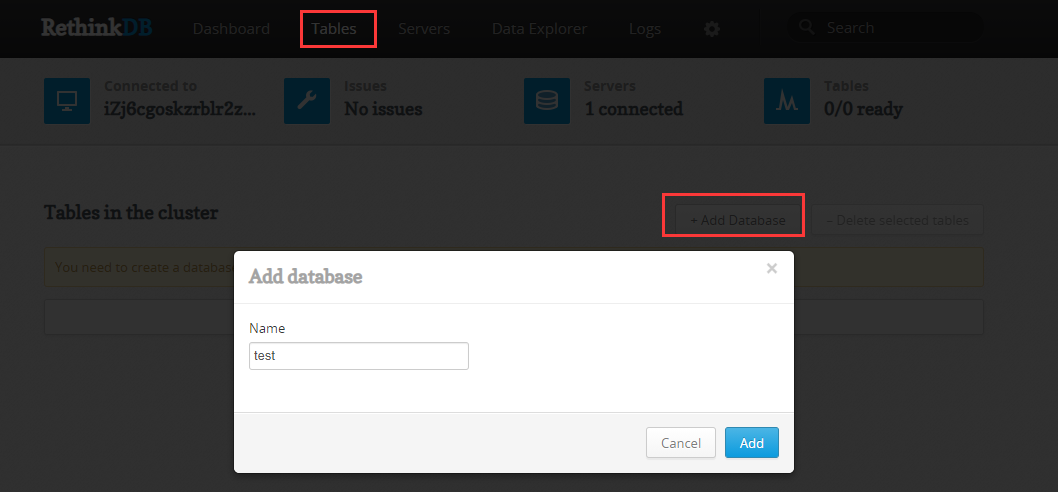
下面以 **演示如何增加 Database 和 Table** 作为一个任务,帮助用户快速入门:
1. 依次打开:【Tables】>【Add Database】,增加一个数据库
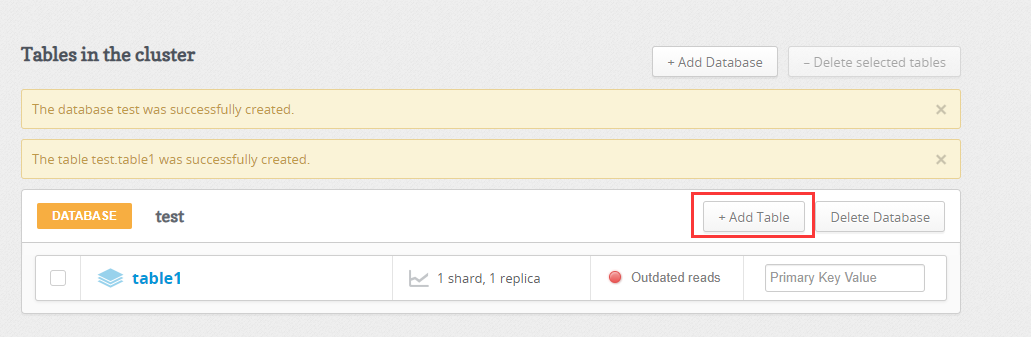
2. 打开数据库,点击【Add Table】增加表
> 需要了解更多 RethinkDB 的使用,请参考官方文档:RethinkDB Documentation
### RethinkDB 常用操作[](https://support.websoft9.com/docs/rethinkdb#rethinkdb-%E5%B8%B8%E7%94%A8%E6%93%8D%E4%BD%9C)
#### 控制台密码管理[](https://support.websoft9.com/docs/rethinkdb#%E6%8E%A7%E5%88%B6%E5%8F%B0%E5%AF%86%E7%A0%81%E7%AE%A1%E7%90%86)
RethinkDB 控制台默认没有提供登录认证,本部署方案采用了 Nginx auth\_bacic 作为登录认证方案
#### 远程访问[](https://support.websoft9.com/docs/rethinkdb#remote)
RethinkDB 远程访问的开关存储在:*/etc/rethinkdb/instances.d/instance.conf* 文件中(容器内部)。
只需执行下面命令,然后重启服务,即可开启远程访问。
```
sudo sed -n "s/^#bind=/bind=0.0.0.0/g" /etc/rethinkdb/instances.d/instance.conf
```
#### 用户管理[](https://support.websoft9.com/docs/rethinkdb#%E7%94%A8%E6%88%B7%E7%AE%A1%E7%90%86)
下面以**新增用户、密码和重置密码**作为范例进行说明:
1. 以 `admin` 用户身份连接数据库(只有 admin 用户具有用户系统表的访问权限,因此必须以 admin 用户连接到数据库)
```
from rethinkdb import r
# 无密码连接
r.connect('localhost', 28015).repl()
# 有密码连接
r.connect('localhost', 28015, password='123456').repl()
```
2. 新增用户名和密码(用户信息存储在 **users** 系统表中)
```
r.db('rethinkdb').table('users').insert({id: 'bob', password: 'secret'})
```
3. 重置指定用户的密码
```
# 重置为新密码
r.db('rethinkdb').table('users').get('username').update({password: newpassword})
# 重置为空密码
r.db('rethinkdb').table('users').get('username').update({password: false})
```
#### 重置密码[](https://support.websoft9.com/docs/rethinkdb#%E9%87%8D%E7%BD%AE%E5%AF%86%E7%A0%81)
常用的 RethinkDB 重置密码相关的操作主要有修改密码和清空密码(将密码设置为空)两种方式。
1. 登录 RethinkDB Web 界面,在【Data explorer】下输入所需的命令
```
# 修改密码命令
r.db('rethinkdb').table('users').get('admin').update({password: 'newpassword'})
# 清空密码命令
r.db('rethinkdb').table('users').get('admin').update({password: false})
```
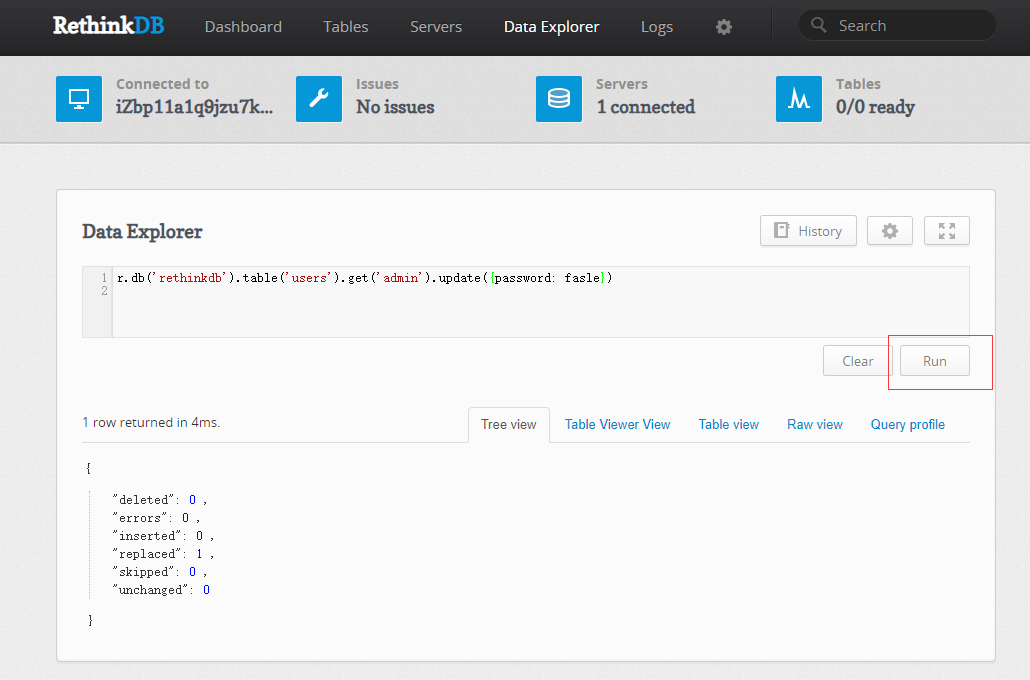
2. 点击【run】后生效
#### 图形化工具[](https://support.websoft9.com/docs/rethinkdb#%E5%9B%BE%E5%BD%A2%E5%8C%96%E5%B7%A5%E5%85%B7)
RethinkDB 可视化控制台是它的重要组成部分,是其重要的产品特征。
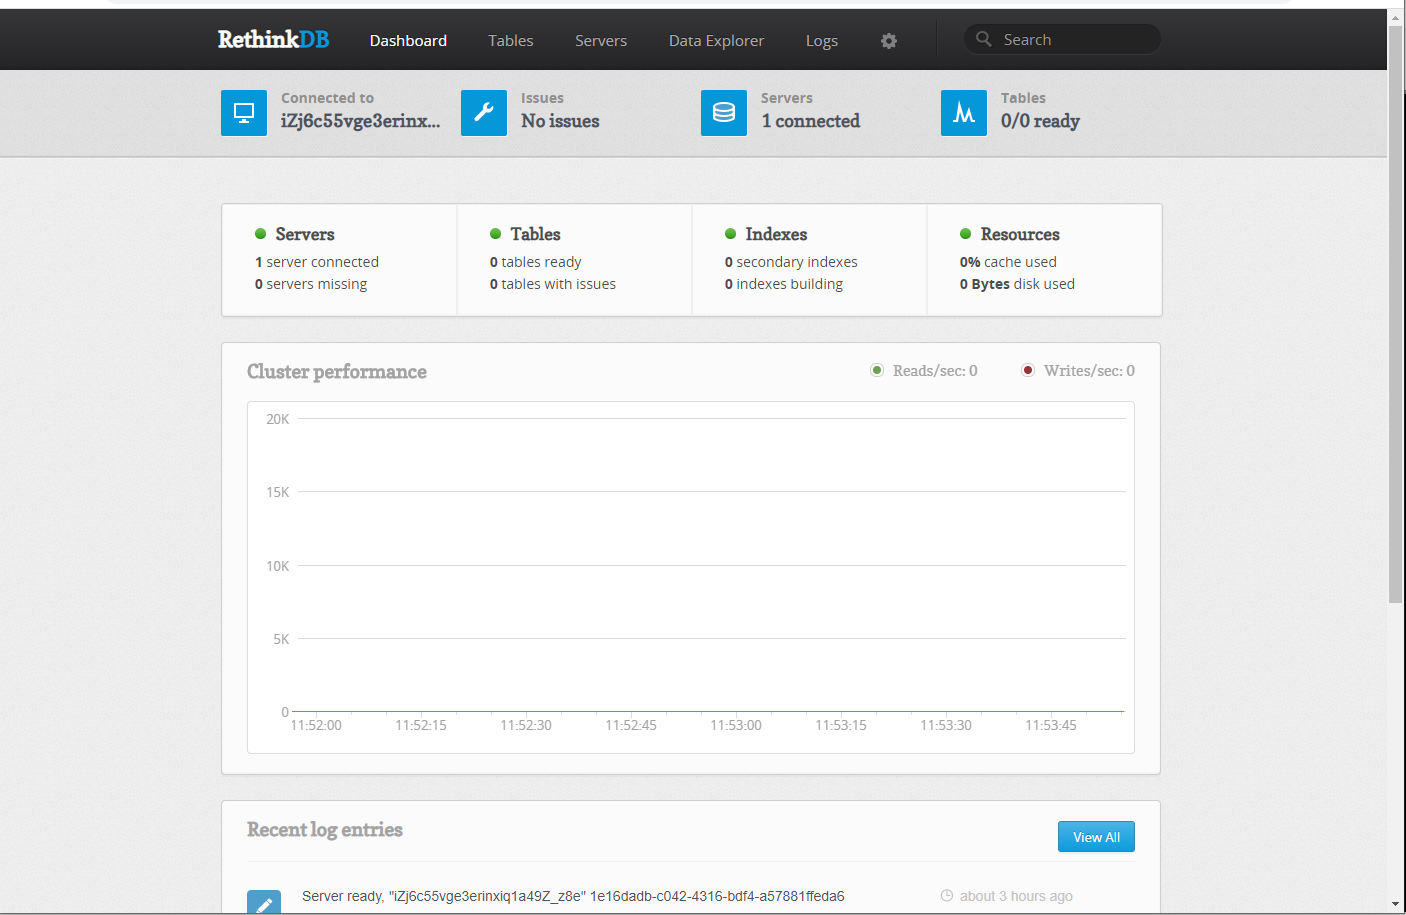
1. 使用本地电脑的浏览器访问网址:*`http://服务器公网IP:9090`*,准备登陆 RethinkDB 控制台
2. 输入用户名和密码
3. 成功登录到 RethinkDB 后台
4. 依次打开:【Tables】>【Add Database】,增加一个数据库
5. 打开数据库,点击【Add Table】增加表
### RethinkDB 参数[](https://support.websoft9.com/docs/rethinkdb#rethinkdb-%E5%8F%82%E6%95%B0)
RethinkDB 应用中包含 Nginx, Docker 等组件,可通过 **通用参数表** 查看路径、服务、端口等参数。
通过运行`docker ps`,可以查看到 RethinkDB 运行时所有的 Container:
```
CONTAINER ID IMAGE COMMAND CREATED STATUS PORTS NAMES
e9cfcd42987e rethinkdb:latest "/bin/bash -c 'rethi…" About a minute ago Up About a minute 0.0.0.0:28015->28015/tcp, :::28015->28015/tcp, 0.0.0.0:29015->29015/tcp, :::29015->29015/tcp, 0.0.0.0:9090->8080/tcp, :::9090->8080/tcp rethinkdb
```
#### 路径[](https://support.websoft9.com/docs/rethinkdb#path)
RethinkDB 安装目录: */data/apps/rethinkdb*\
RethinkDB 数据目录: */data/apps/rethinkdb/data/rethinkdb\_data*\
RethinkDB 配置文件目录: */etc/rethinkdb/instances.d*
> 配置文件目录是指容器内目录,默认是空的
#### 端口[](https://support.websoft9.com/docs/rethinkdb#%E7%AB%AF%E5%8F%A3)
| 端口号 | 用途 | 必要性 |
| ----- | ----------------------- | --- |
| 28015 | RethinkDB connect | 可选 |
| 9090 | RethinkDB Web-based GUI | 可选 |
#### 版本[](https://support.websoft9.com/docs/rethinkdb#%E7%89%88%E6%9C%AC)
```
docker exec -it rethinkdb rethinkdb --version
```
#### 服务[](https://support.websoft9.com/docs/rethinkdb#%E6%9C%8D%E5%8A%A1)
```
sudo docker l start | stop | restart | stats rethinkdb
```
#### 命令行[](https://support.websoft9.com/docs/rethinkdb#%E5%91%BD%E4%BB%A4%E8%A1%8C)
**服务端**[****](https://support.websoft9.com/docs/rethinkdb#%E6%9C%8D%E5%8A%A1%E7%AB%AF)
RethinkDB 提供了强大的的**服务端**命令行工具 `rethinkdb`
```
$ docker exec -it rethinkdb bash
$ rethinkdb -h
Running 'rethinkdb' will create a new data directory or use an existing one,
and serve as a RethinkDB server.
File path options:
-d [ --directory ] path specify directory to store data and
metadata
--io-threads n how many simultaneous I/O operations
can happen at the same time
--direct-io use direct I/O for file access
--cache-size mb total cache size (in megabytes) for
the process. Can be 'auto'.
Server options:
-n [ --server-name ] arg the name for this server (as will
appear in the metadata). If not
specified, one will be generated from
the hostname and a random
alphanumeric string.
-t [ --server-tag ] arg a tag for this server. Can be
specified multiple times.
Network options:
--bind {all | addr} add the address of a local interface
to listen on when accepting
connections, loopback addresses are
enabled by default. Can be overridden
by the following three options.
--bind-cluster {all | addr} override the behavior specified by
--bind for cluster connections.
--bind-driver {all | addr} override the behavior specified by
--bind for client driver connections.
--bind-http {all | addr} override the behavior specified by
--bind for web console connections.
--no-default-bind disable automatic listening on
loopback addresses
--cluster-port port port for receiving connections from
other servers
--driver-port port port for rethinkdb protocol client
drivers
-o [ --port-offset ] offset all ports used locally will have this
value added
-j [ --join ] host[:port] host and port of a rethinkdb server
to connect to
--reql-http-proxy [protocol://]host[:port] HTTP proxy to use for performing
`r.http(...)` queries, default port
is 1080
--canonical-address host[:port] address that other rethinkdb
instances will use to connect to us,
can be specified multiple times
--join-delay seconds hold the TCP connection open for
these many seconds before joining
with another server
--cluster-reconnect-timeout seconds maximum number of seconds to attempt
reconnecting to a server before
giving up, the default is 24 hours
TLS options:
--http-tls-key key_filename private key to use for web
administration console TLS
--http-tls-cert cert_filename certificate to use for web
administration console TLS
--driver-tls-key key_filename private key to use for client driver
connection TLS
--driver-tls-cert cert_filename certificate to use for client driver
connection TLS
--driver-tls-ca ca_filename CA certificate bundle used to verify
client certificates; TLS client
authentication disabled if omitted
--cluster-tls-key key_filename private key to use for intra-cluster
connection TLS
--cluster-tls-cert cert_filename certificate to use for intra-cluster
connection TLS
--cluster-tls-ca ca_filename CA certificate bundle used to verify
cluster peer certificates
--tls-min-protocol protocol the minimum TLS protocol version that
the server accepts; options are
'TLSv1', 'TLSv1.1', 'TLSv1.2';
default is 'TLSv1.2'
--tls-ciphers cipher_list specify a list of TLS ciphers to use;
default is 'EECDH+AESGCM'
--tls-ecdh-curve curve_name specify a named elliptic curve to use
for ECDHE; default is 'prime256v1'
--tls-dhparams dhparams_filename provide parameters for DHE key
agreement; REQUIRED if using DHE
cipher suites; at least 2048-bit
recommended
Authentication options:
--initial-password {auto | password} sets an initial password for the
"admin" user on a new server. If set
to auto, a random password will be
generated.
Web options:
--web-static-directory directory the directory containing web
resources for the http interface
--http-port port port for web administration console
--no-http-admin disable web administration console
CPU options:
-c [ --cores ] n the number of cores to use
Service options:
--pid-file path a file in which to write the process
id when the process is running
--daemon daemonize this rethinkdb process
Set User/Group options:
--runuser user run as the specified user
--rungroup group run with the specified group
Help options:
-h [ --help ] print this help
-v [ --version ] print the version number of rethinkdb
Log options:
--log-file file specify the file to log to, defaults
to 'log_file'
--no-update-check obsolete. Update checking has been
removed.
Configuration file options:
--config-file take options from a configuration
file
There are a number of subcommands for more specific tasks:
'rethinkdb create': prepare files on disk for a new server instance
'rethinkdb serve': use an existing data directory to host data and serve queries
'rethinkdb proxy': serve queries from an existing cluster but don't host data
'rethinkdb export': export data from an existing cluster into a file or directory
'rethinkdb import': import data from from a file or directory into an existing cluster
'rethinkdb dump': export and compress data from an existing cluster
'rethinkdb restore': import compressed data into an existing cluster
'rethinkdb index-rebuild': rebuild outdated secondary indexes
'rethinkdb repl': start a Python REPL with the RethinkDB driver
For more information, run 'rethinkdb help [subcommand]'.
```
**客户端**[****](https://support.websoft9.com/docs/rethinkdb#%E5%AE%A2%E6%88%B7%E7%AB%AF)
RethinkDB 官方没有客户端 CLI,但提供了Python, Java, Node 等开发语言的 RethinkDB client drivers。
用户通过这些 drivers 以程序的方式连接 RethinkDB 服务,然后进行场景的数据库操作。
下面以 Python 为例描述如何具体使用:
1. 安装 rethinkdb 驱动
```
pip3 install rethinkdb
```
2. 编写 Python 程序,连接 RethinkDB 服务器
```
from rethinkdb import r
r.connect('localhost', 28015).repl()
r.db('test').table_create('tv_shows').run()
r.table('tv_shows').insert({ 'name': 'Star Trek TNG' }).run()
```
#### API[](https://support.websoft9.com/docs/rethinkdb#api)
上述客户端命令即 API